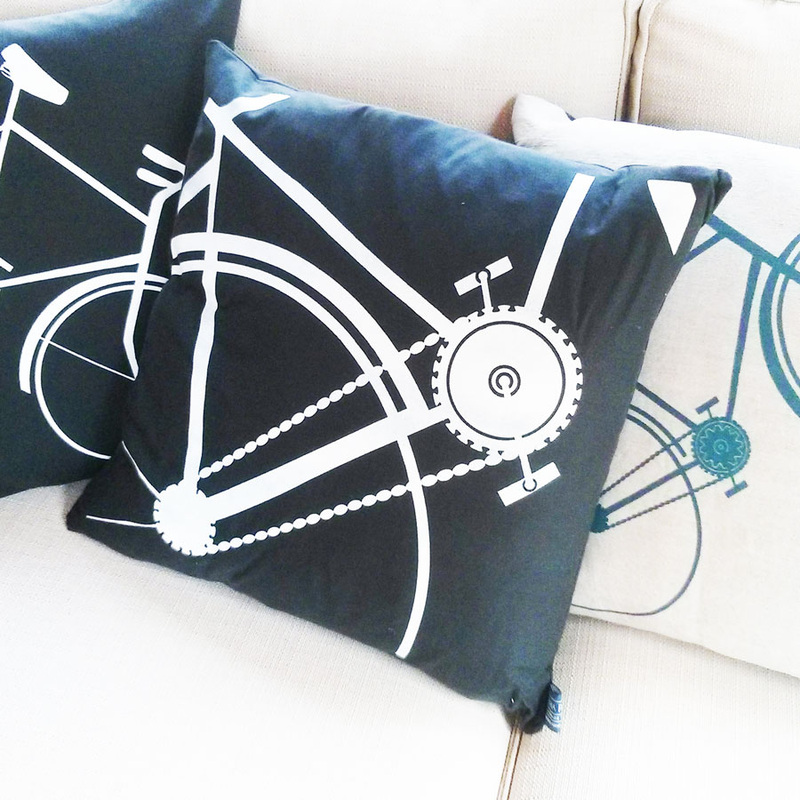
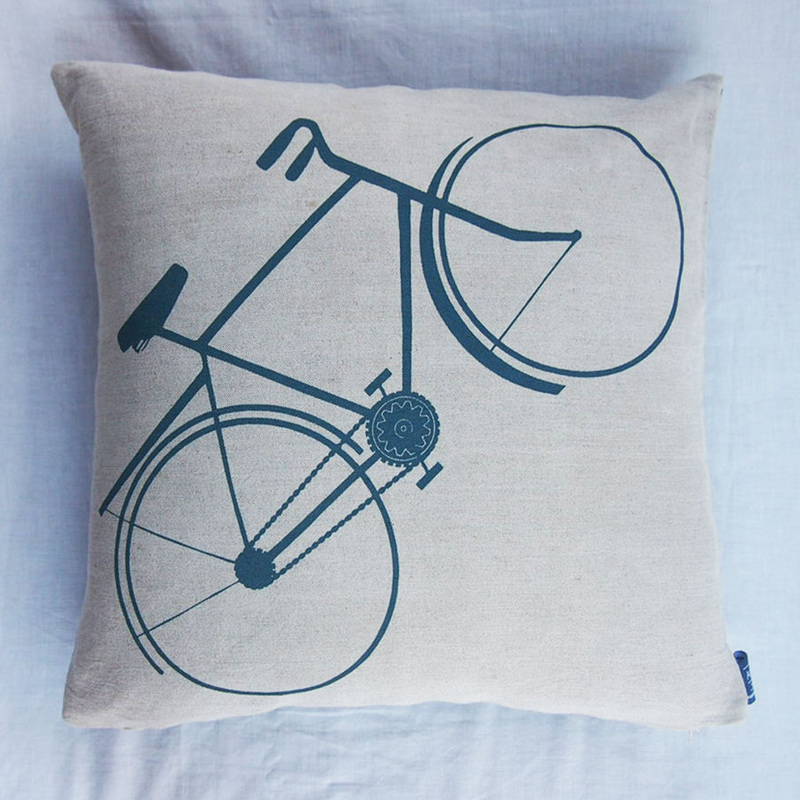
All inspired by the BBCs Great British Sewing Bee I am about to launch a range of DIY Cushion Making kits! You will now be able to sew your own Anna Prints cushion, or buy a kit as a present for a budding or keen sewer.
I thought I would put a detailed instructional piece in the blog and also, when I can, get round to making a few short videos to help you do the more complicated bits. The only real difficulty might be putting in the zip, other wise it is a very easy and straightforward project.
I thought I would put a detailed instructional piece in the blog and also, when I can, get round to making a few short videos to help you do the more complicated bits. The only real difficulty might be putting in the zip, other wise it is a very easy and straightforward project.
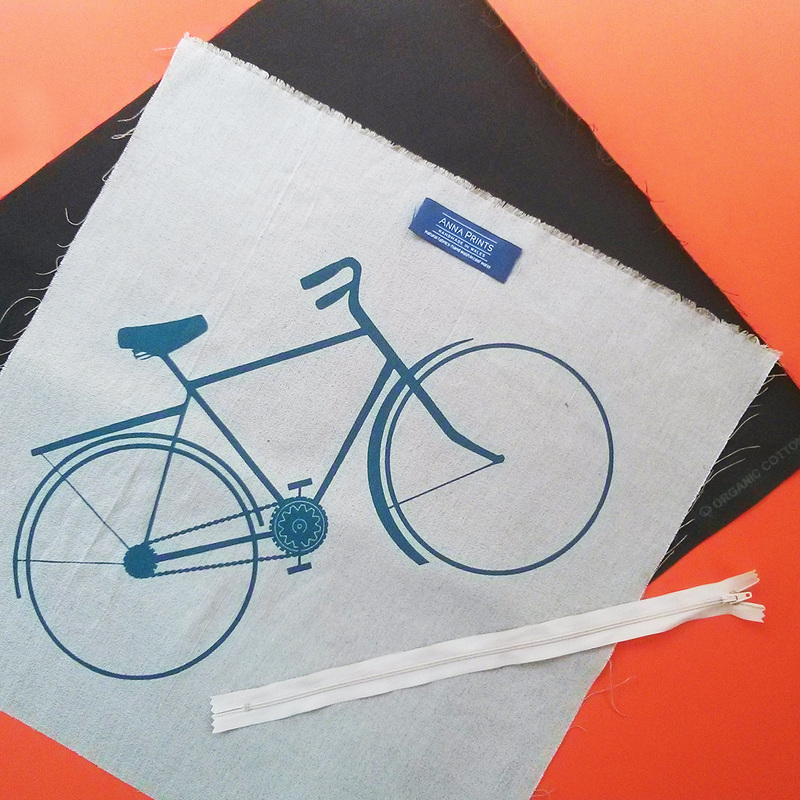
What you will get in the kit:
Front fabric hand printed with the chosen design.
Backing fabric
Zip
Label
Front fabric hand printed with the chosen design.
Backing fabric
Zip
Label
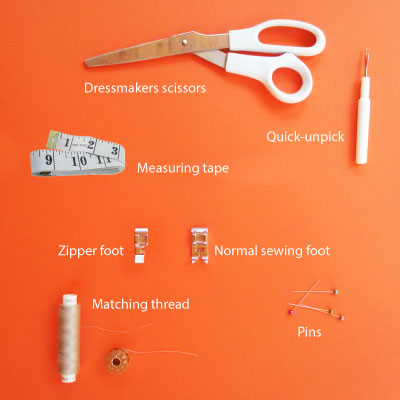
You will need:
Sewing machine or needle and thread and lots of patience
Dressmakers scissors
Zipper foot (if using a sewing machine)
Normal sewing foot
Matching thread
Pins
You may need:
Quick-un-pick
mat
cutter
set square
Sewing machine or needle and thread and lots of patience
Dressmakers scissors
Zipper foot (if using a sewing machine)
Normal sewing foot
Matching thread
Pins
You may need:
Quick-un-pick
mat
cutter
set square
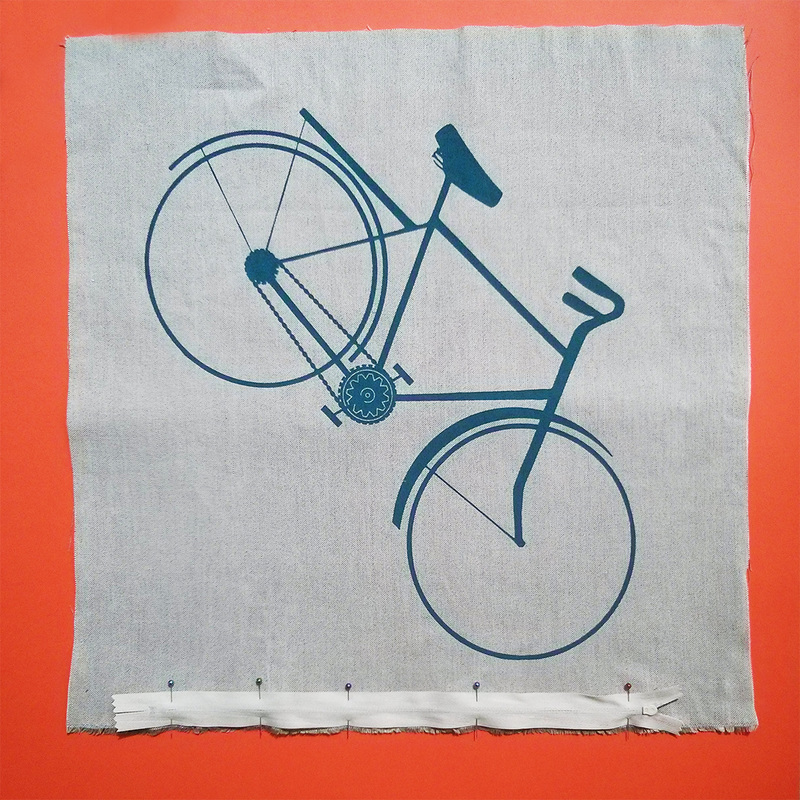
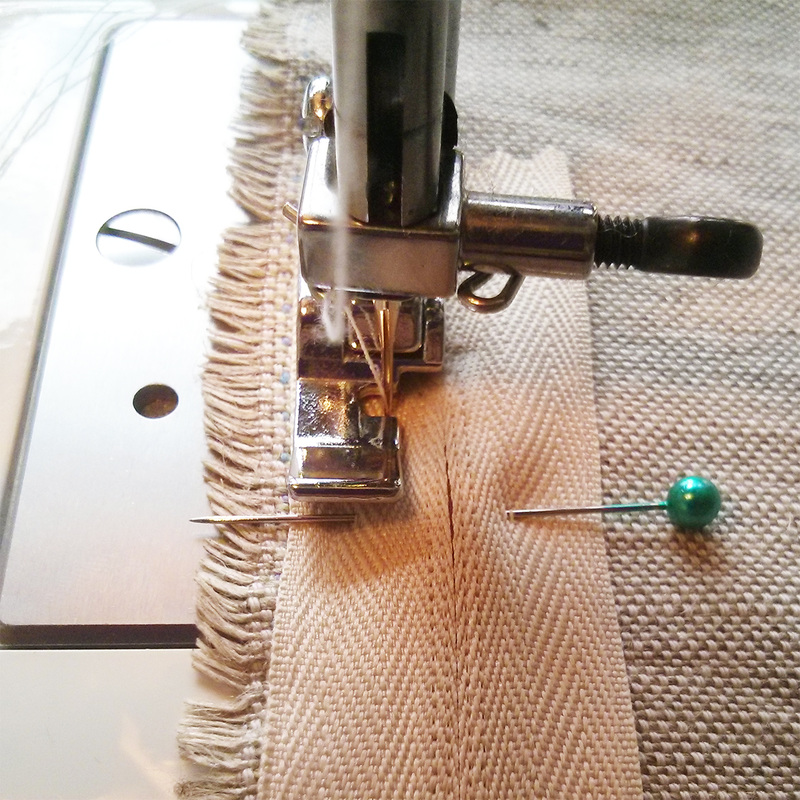
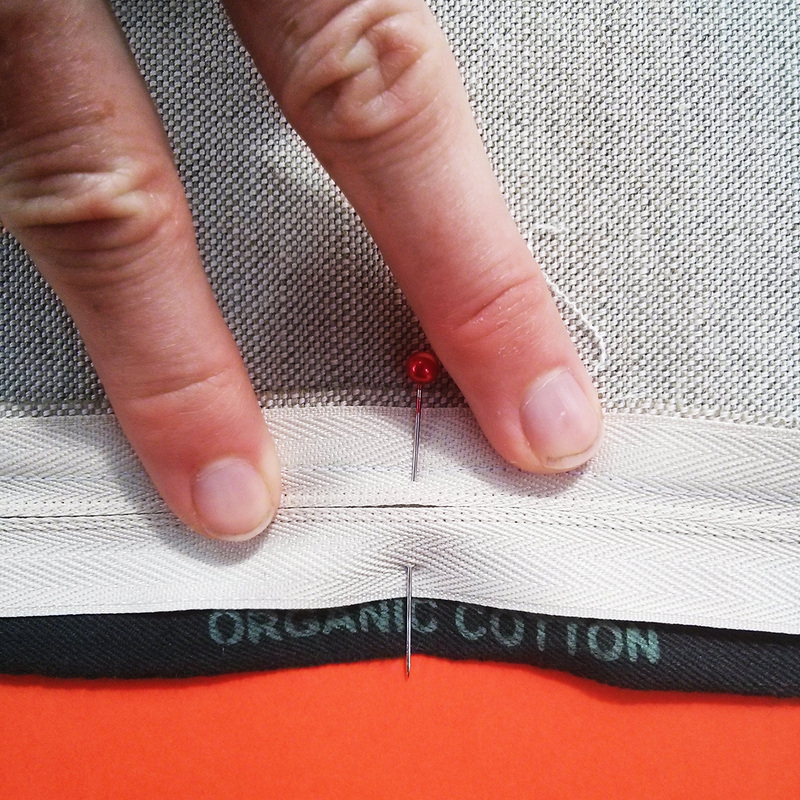
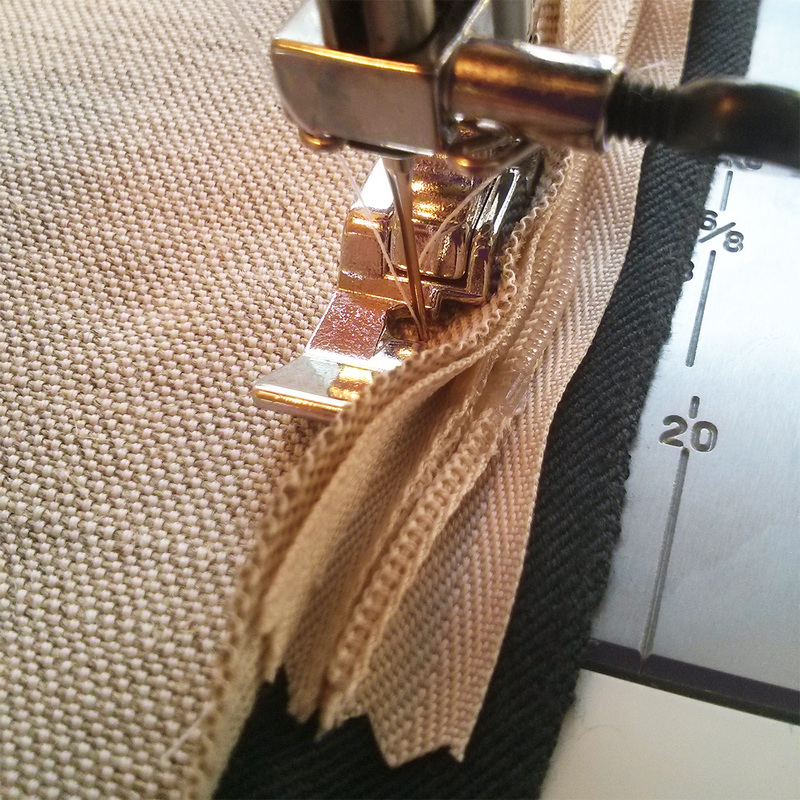
1. Pin (and tack if you wish) the zip face down in the middle of the front fabric. Leave about an inch and a half either each end of the zip. Sew into place. Be careful when you are sewing the zip into place that you move the zip head out of the way. You may wish to refer to the blog regarding this. Press open the seam.
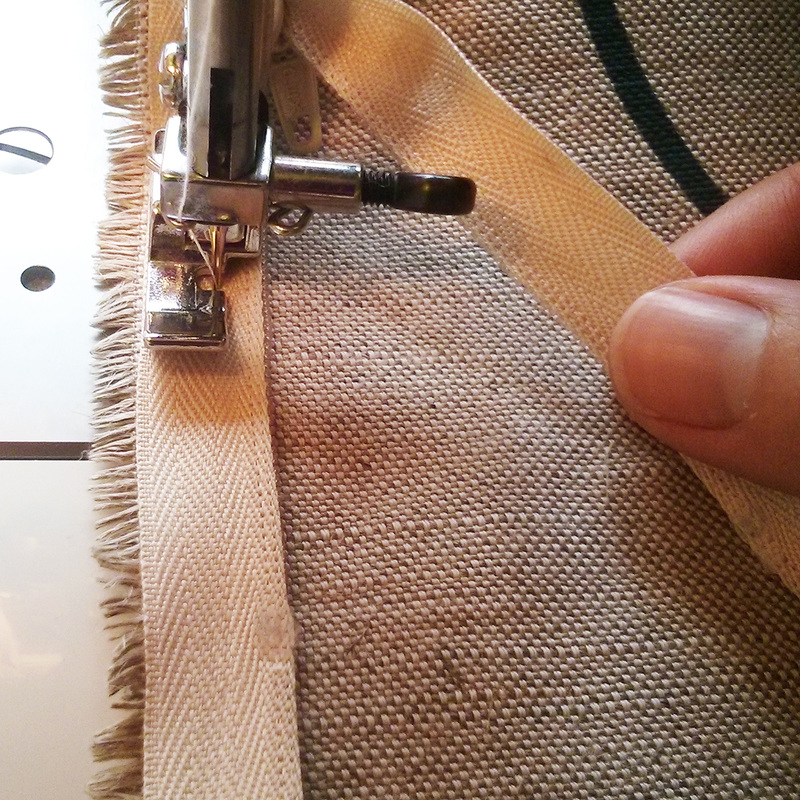
2. Place the fabric face down onto the backing fabric (face up) with right sides together. You should be able to read the printed 'organic fabric' text along the bottom of the backing fabric underneath the zip. Pin the zip into place making sure the text is contained within the seam so it won't be visible on your finished cushion. Sew into place, again taking care to move the zip out of your way, and press open the seam.
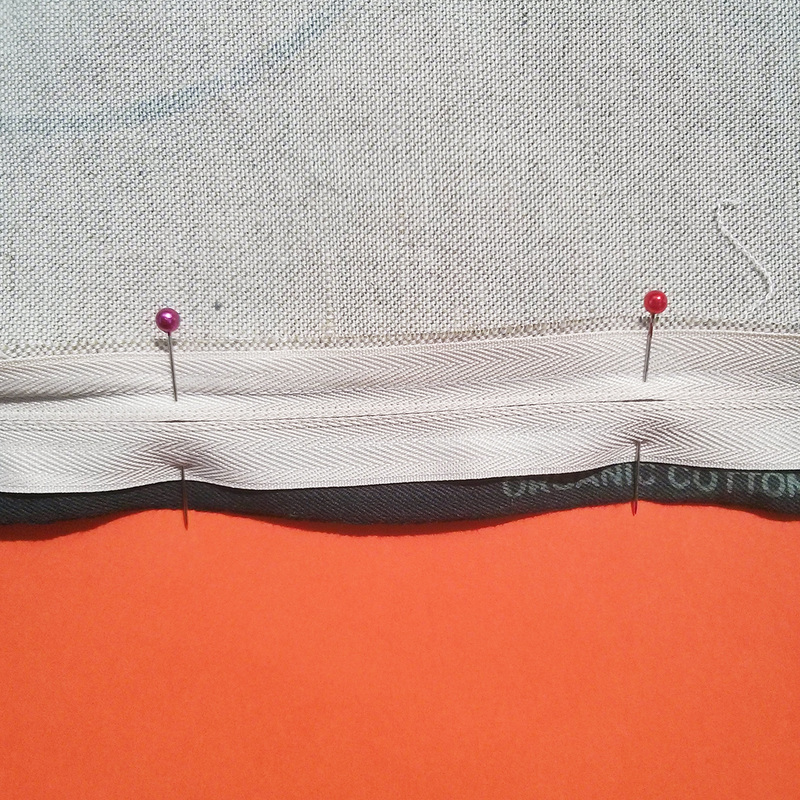

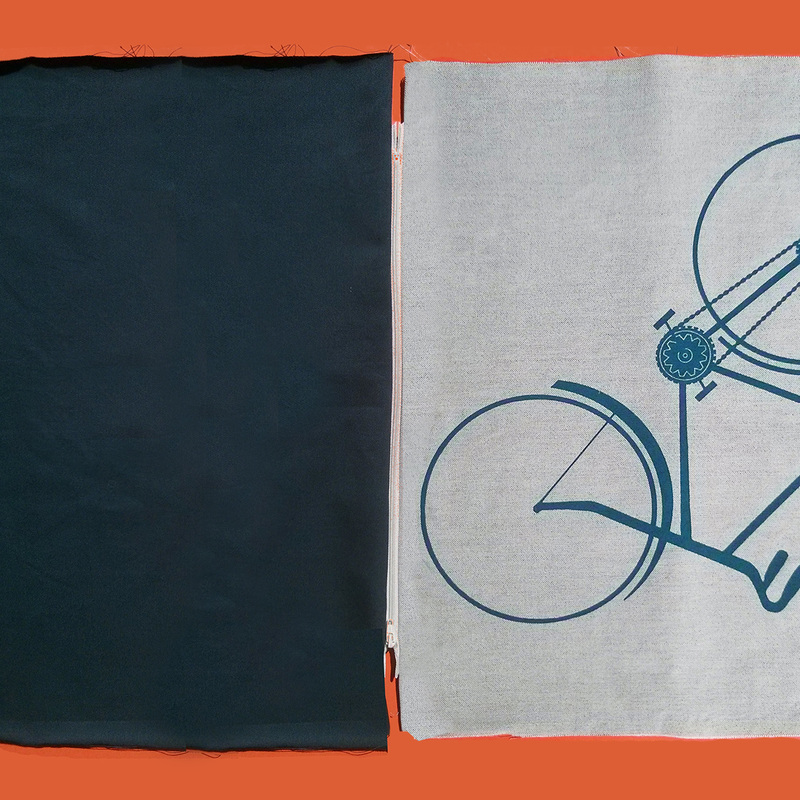
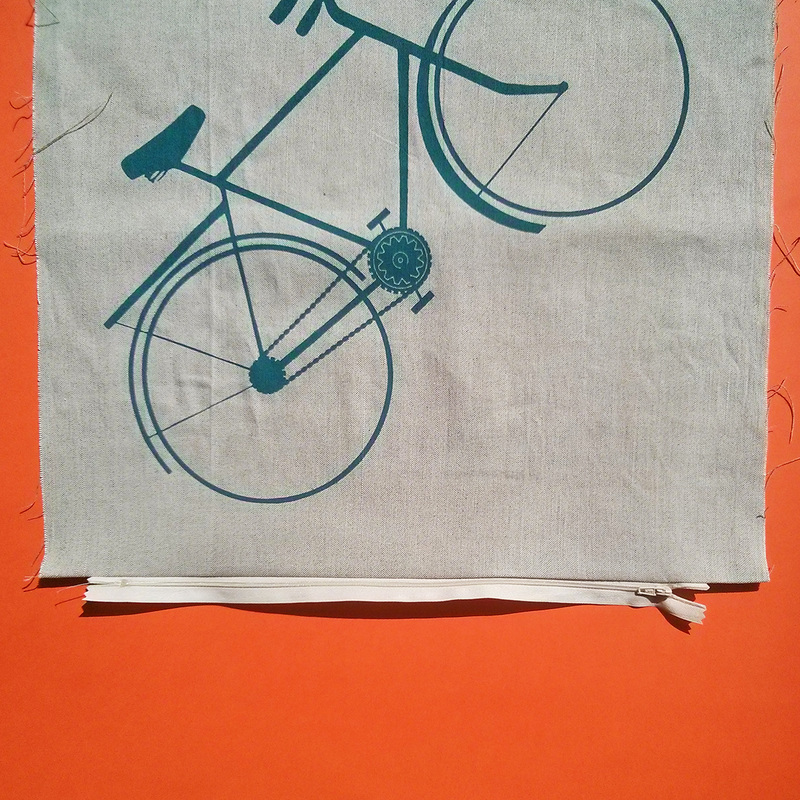
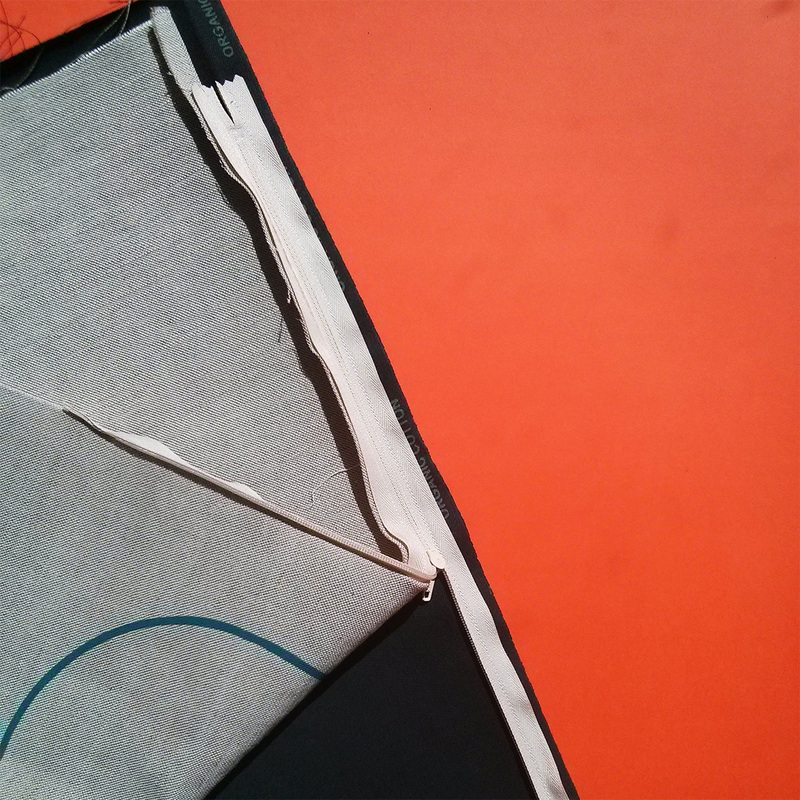
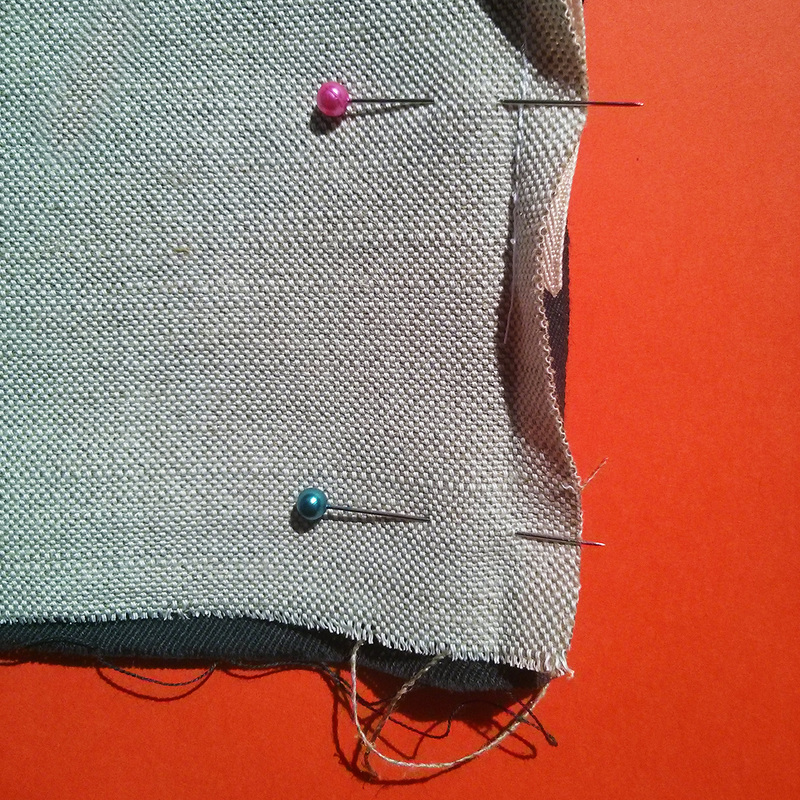
3. Open the zip half way and then pin the open ends either side of the zip carefully into place. I will be posting a short video on this shortly to help you. Still using the zipper foot on the sewing machine carefully sew from the zip to the edge of the fabric completing the bottom seam of the cushion containing the zip within it. Press the seam open.
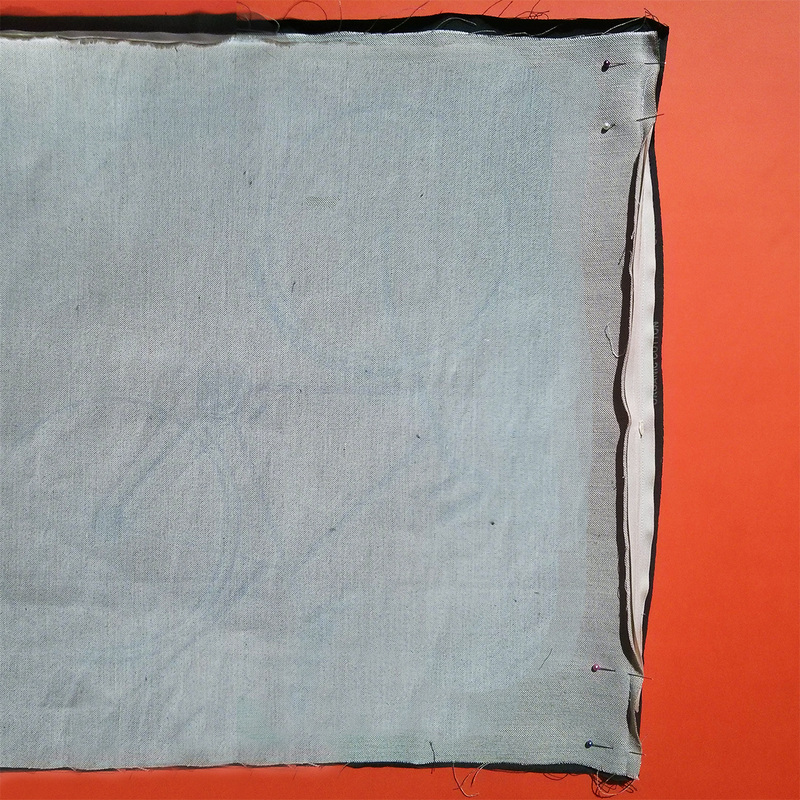

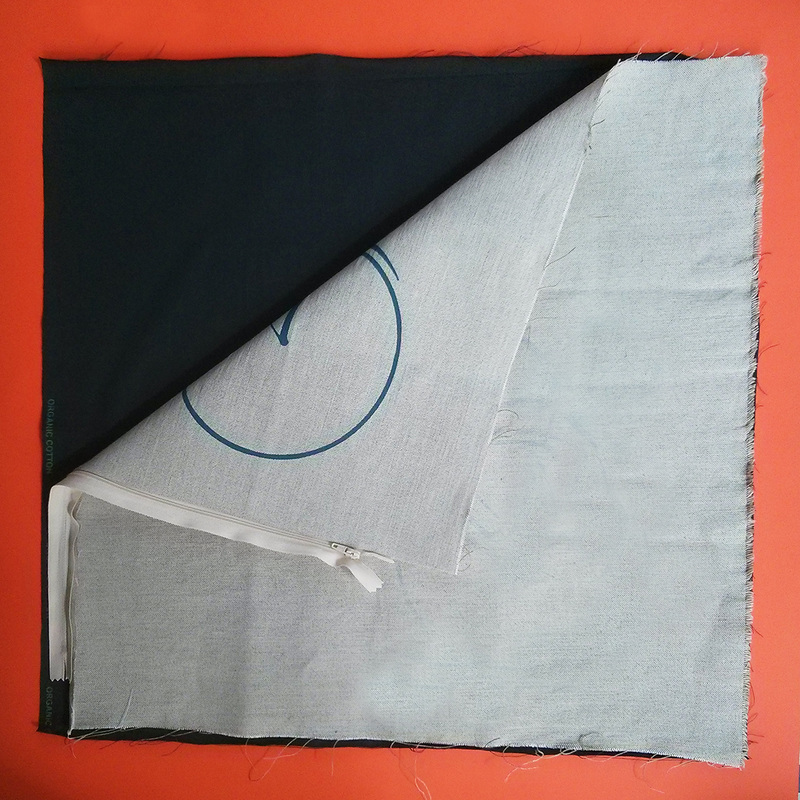
4. Lay the cushion out, right sides together and carefully pin the two pieces together. Use a lot of pins, and/or tack into place. The linen and the cotton need to be held together well before you put them through the sewing machine to ensure they do not move when sewing.
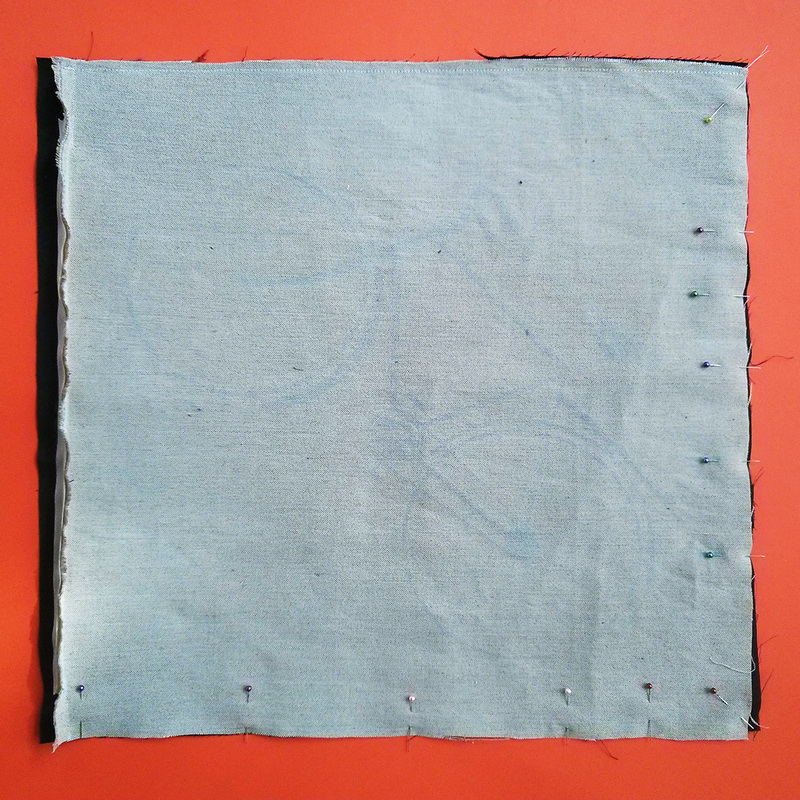
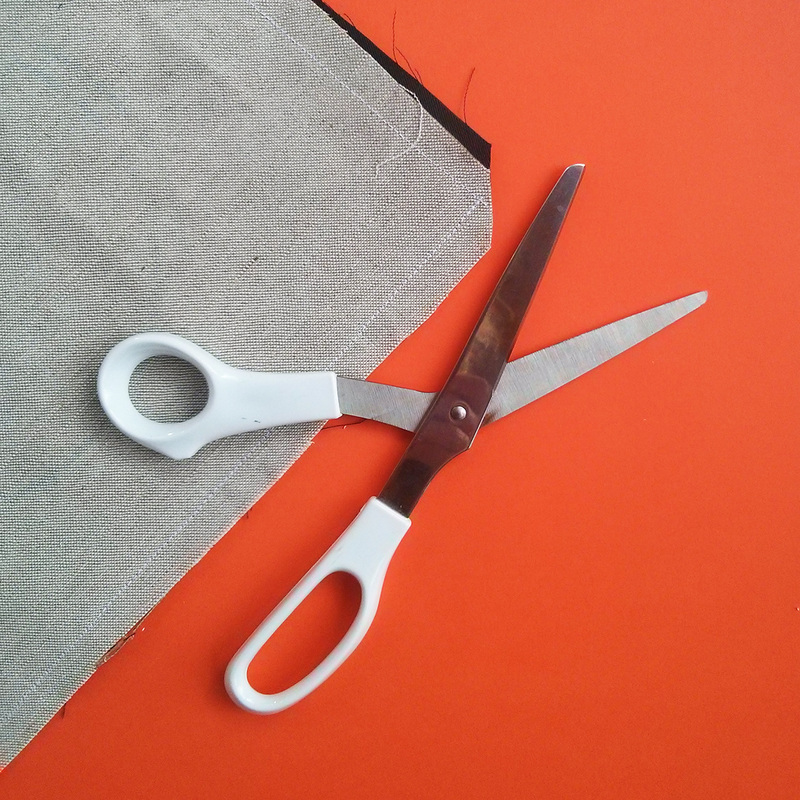
5. Sew the remaining seams together ensuring the cushion measures roughly 18.5 inches x 18.5 inches. Trim and neaten the seams, cutting off the corner seam to ensure nice pointed corners on your cushion. Set the sewing machine to zig zag stich and sew the ends of the seams together for neatness and strength. Turn your cushion right-side out and press it. This size cushion cover looks best with a 20 inch x 20 inch cushion pad, and I think feather looks best.


 RSS Feed